What Is Dead Stretching?
Share

What on Earth is Dead Stretching?
Dead stretching, is the art of stretching your earlobes without the use of tapers or other fancy tools. It's like going old school, but with a twist. Instead of relying on external forces, you let your body do the work. It's all about patience and listening to your body's cues.
Step 1: Start Small, Think Big
Before you can rock those jaw-dropping plugs, you need to start with a small gauge. Think of it as planting a seed and watching it grow into a beautiful flower. Begin with a standard ear piercing, and let it heal completely. Once it's all good to go, you can start stretching.
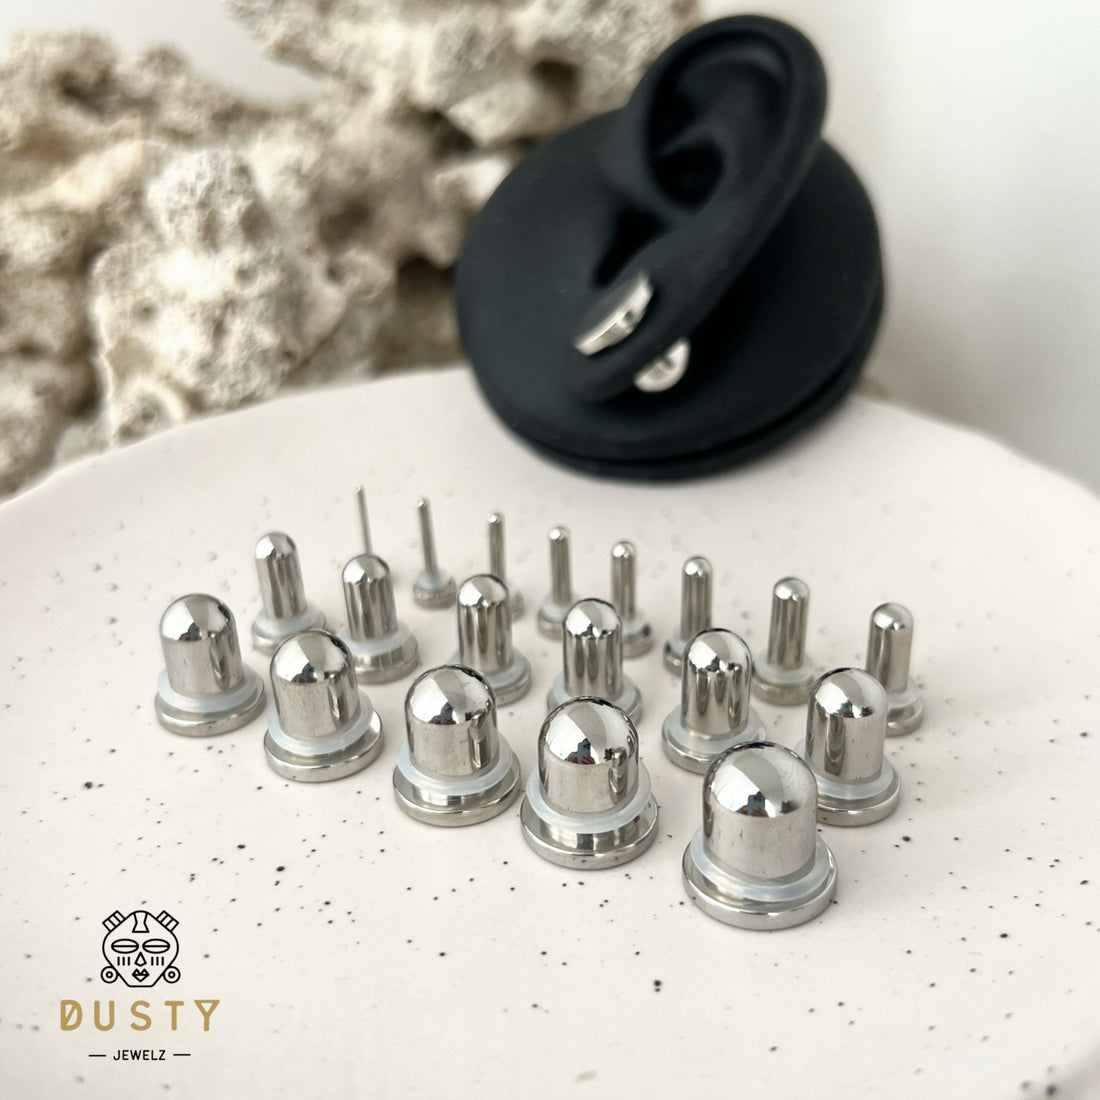
Jewelry sizes are measured by gauge. Measurements between 14g and 2g increase by increments equal or less than 1 mm. Keep this in mind when stretching above a 2g and consider purchasing jewelry that is in between sizes to accommodate your ears.

Our Dead stretching plugs and tunnels are ideal as they come in 0.5mm increments.
@dustyjewelzau Check out our dead stretching plugs that come in 0.5mm increments. Super easy and safe to stretch up to your next size 😎 #earstretching #piercing #piercinglovers #piercingaddict#bodyjewelry#plugsandtunnels#eartunnels#bodmods @Dustyjewelz ♬ original sound - Frank Bergquist
Step 2: Lubrication is Key
Now, here's where things get slippery. Grab some lube (yes, you read that right) and apply it generously to your earlobe and the jewelry you're about to insert. This will make the process smoother than a baby's bottom. Trust us, your ears will thank you for it.
Step 3: The Waiting Game
Patience is a virtue. You can't rush perfection, and the same goes for ear stretching. Give your ears plenty of time to adjust to each size before moving on to the next. Rome wasn't built in a day, and neither will your stretched lobes.
Step 4: Listen to Your Body
Your body is a temple, and it knows what's best for you. Pay attention to any discomfort or pain during the stretching process. If your ears are screaming "ouch," it's time to take a step back and let them rest. Remember, slow and steady wins the race.
Step 5: Show Off Your Style
Once you've reached your desired gauge, it's time to flaunt your unique style. From intricate tunnels to eye-catching plugs, the world is your oyster. Get creative, mix and match, and let your stretched lobes be a reflection of your personality.
OTHER METHODS:
Dead stretching is not the only method to stretching ears. While it is what is recommended as the safest by many professional piercers, stretching with tapers and tape are other techniques implemented to achieve a larger size.
Taper Method: This method requires the use of tapers (a cone shaped tool). By inserting the smaller end first and sliding it through the lobe, the tool gradually expands to fit the larger end.

Taping: This method uses tape to wrap around the jewelry. Doing this allows the ears to gradually expand over time without the use of a larger size of jewelry.
Final Thoughts
Dead stretching your ears is a journey that requires patience, care, and a pinch of quirkiness. Remember, it's not just about the destination, but the adventure along the way. So, go forth, my friend, and embrace the world of ear stretching. Your lobes will thank you for it!
SHOP OUR STRETCHING KITS HERE.

